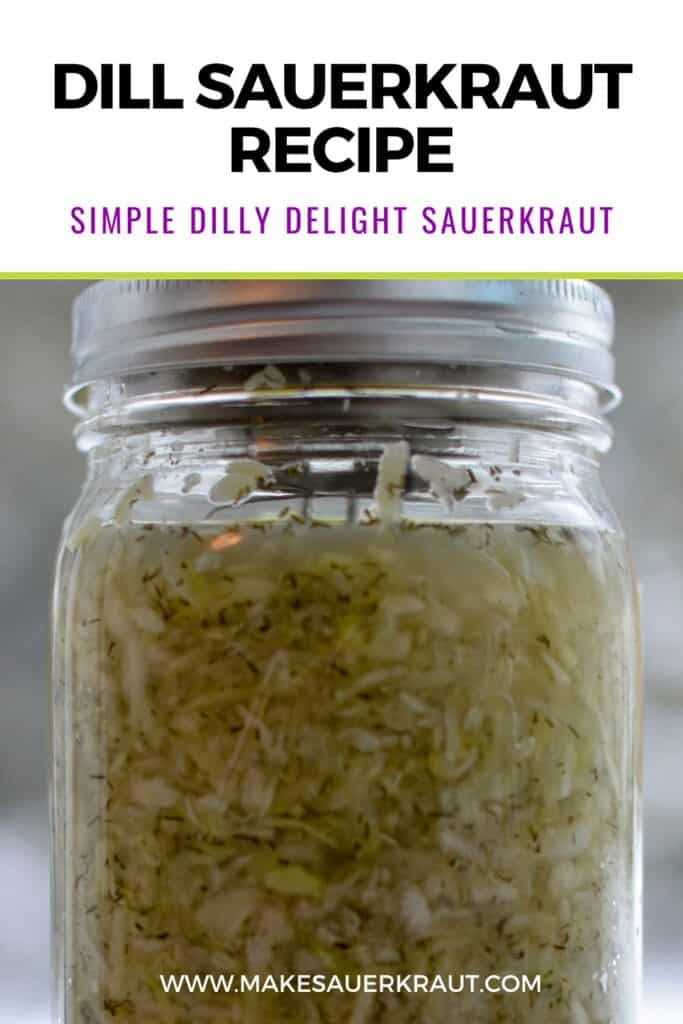
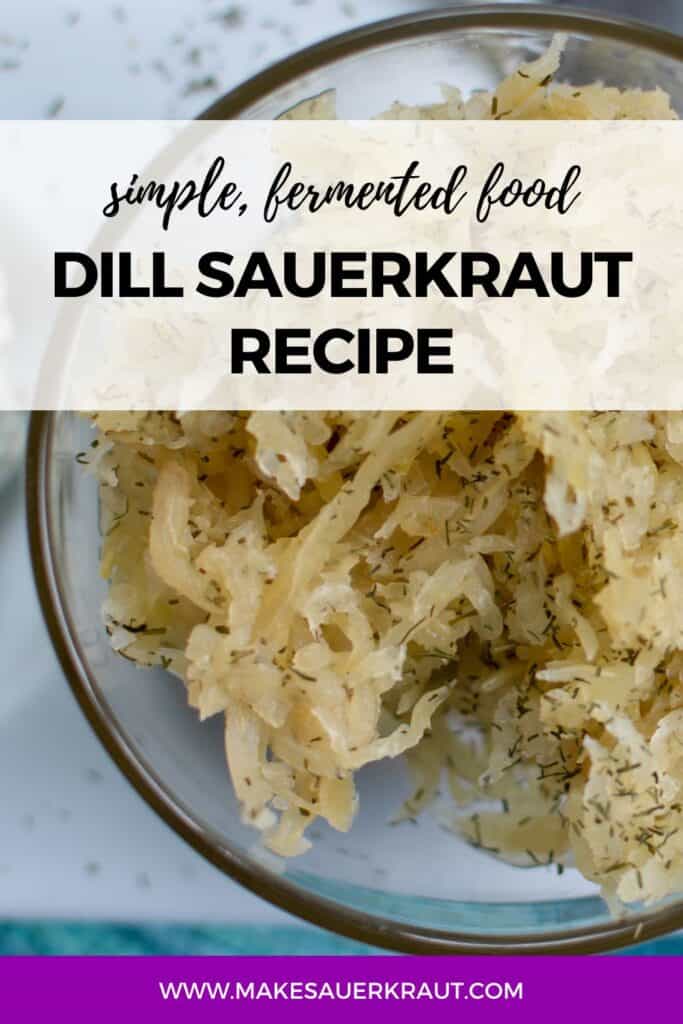
With only cabbage and dill (fresh or dried), this simple yet tasty dill sauerkraut is a breeze to make and sure to please. Use it as a filling for grilled cheese sandwiches, as a garnish for salads, or as a side dish for hearty stews.
This recipe can be customized to suit your taste preferences, thanks to the addition of various flavor suggestions like lemon, garlic, or cucumber for a dill pickle sauerkraut. Even those who claim to despise sauerkraut may be won over by this recipe.
I used 4 tbsp of dill for 3 jars full and it’s tasty like dill pickle. The longer it ferments, the better it tastes. Yummers! 😻😻😻
—Jennifer
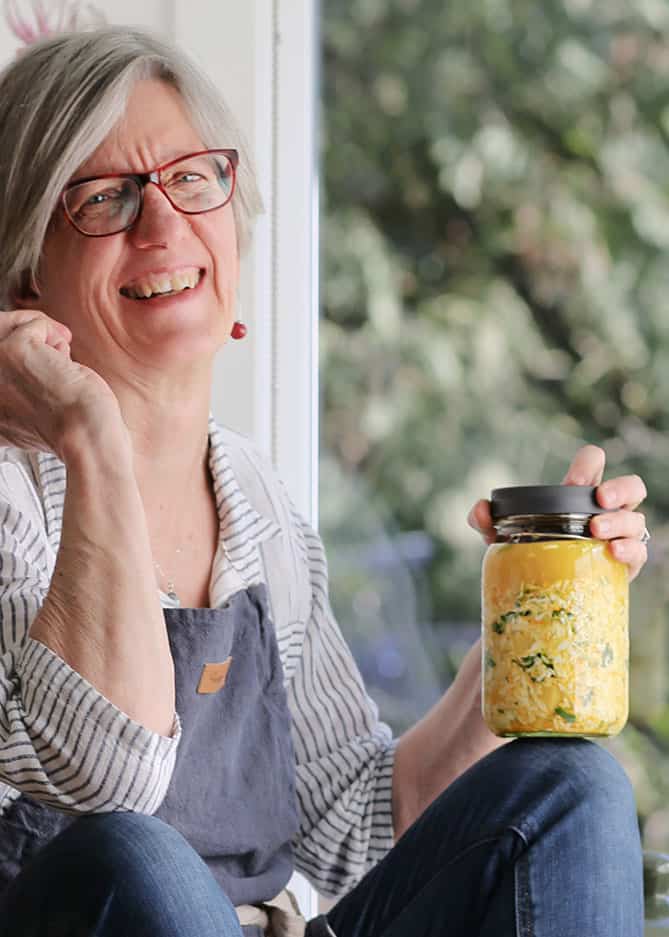
Sauerkraut like your great-grandma used to make.
This recipe uses an all-natural fermentation process called Lacto fermentation, a process that takes advantage of naturally occurring bacteria hanging out on the cabbage.
No vinegar.
No lab cultures to kick-start the process.
No cooking.
No pasteurization.
A centuries-old preservation process that results in copious amounts of beneficial bacteria for feeding and nourishing your gut microbiome.
A healthy gut microbiome means improved gut health, and…
Better overall health. Big wins all around.
Note: If this is your first time making sauerkraut, learn how to choose the best cabbage for sauerkraut, and review my tutorial:
Absolutely the Best Homemade Sauerkraut Recipe {In a Jar},
with its step-by-step photography, tips, and additional fermentation information.

Key Ingredients for Dill Sauerkraut {Dilly Delight}
This recipe calls for just raw cabbage and dill with some salt.
Suggestions are also included for Garlic Dill Sauerkraut, Lemon Dill Sauerkraut, and Copy Cat Trader Joe’s Sauerkraut with Pickled Persian Cucumbers.
The salt draws water from the cabbage to create a brine in which the ‘good’ bacteria convert the carbs into lactic acid, a natural preservative that inhibits ‘bad’ bacteria growth.
That lactic acid is also behind the tart and tangy flavor.
Dill (Fresh or Dried)
Fresh dill is available at markets during the summer and early fall. However, I tend to keep my life simple and stick to dried dill when making this sauerkraut. If you’re going to use fresh dill, chop just the finer stalks, tossing the thicker parts.
Dry herbs are three times stronger than fresh so plan on using almost a quarter cup of fresh dill in this recipe.
Suggestions for Customizing This Recipe
Garlic Dill Sauerkraut. Add 2-3 cloves (20 grams) of finely chopped garlic. Watch that you don’t go overboard with the garlic. Keep track of how much you use and adjust future batches.
Lemon Dill Sauerkraut. Add the zest and juice of one lemon.
Copy Cat Trader Joe’s Sauerkraut with Pickled Persian Cucumbers. In place of the dill in this recipe, use 20 grams of chopped garlic and 100 grams of Persian (or, English) cucumbers sliced into ⅛ inch (3 mm) rounds to add extra texture and create a yummy pickle flavor.
One Fun Way to Enjoy Dill Sauerkraut
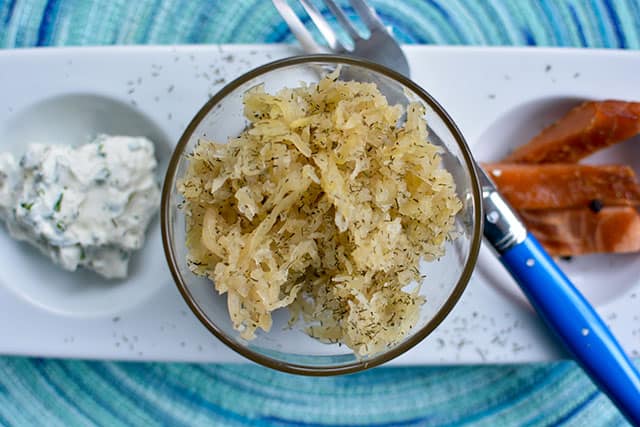
Make a protein-rich salad by mixing some slices of salmon and Dill Sauerkraut with a bit of sour cream. You may need to first thin the sour cream with some cream or milk. Mix together, grind a bit of pepper over it and you’re good to go.
For more ideas, check out my ever-growing list of ways to enjoy your sauerkraut.
Major Success Tips for Dill Sauerkraut
With its simple set of ingredients, this recipe is a good one to practice the basics on. Here are three tips for you with my complete set of fermentation tips HERE:
Use a scale. When you weigh your cabbage, you are able to add the proper amount of salt to enable the beneficial bacteria to flourish and the pathogenic bacteria to die off. You can even take it a step further and weigh your salt.
Pick the right cabbage. I have the greatest success with green cabbage harvested in the late fall. Red cabbage also works well and has higher levels of vitamin C. However, in this recipe, its strong flavor might compete with the dill.
Watch your fermentation temperatures. When temperatures are too high, fermentation progresses too quickly and mold is more likely to grow. The finished texture may also be too soft. There are many ways to control fermentation temperatures, the best being an ice chest with a frozen jug of water.
Dill Sauerkraut Recipe {Dilly Delight}
I have two forms of my Dill Sauerkraut Recipe for you. The online one that follows—with numerous pictures—and a PDF version below for printing that includes Gourmet Pairing Options and information on recipe ingredients.
The Five Tools I Grab Every Time I Make a Batch of Sauerkraut
Dilly Delight Sauerkraut
EQUIPMENT
- Kitchen scale, ideally digital or use given volume measurements
- Cutting board and chef’s knife
- Large mixing bowl
- Vegetable peeler, grater and measuring spoons
- 1-quart (L) wide-mouth canning jar or similar sized jar
- 4-ounce (125 ml) canning jar (jelly jar) (or other "weight")
- Wide-mouth plastic storage cap or use the lid and rim that comes with jar
INGREDIENTS
- 1 medium head fresh green cabbage, 2 ½–3 pounds (1 kg)
- 1 tablespoon dried dill (2-3 tablespoons fresh)
- 1 tablespoon (18 grams) iodine-free salt (fine-grain)
INSTRUCTIONS
- SET UP. Gather Supplies and Set Up ScaleUsing a scale to make your sauerkraut enables you to make up a batch that fits perfectly into your jar and also ensures that you use the right amount of salt for the bacteria to do their best work. You don’t want to include the weight of your bowl in your measurements, so either zero out the scale (usually done with a button on a digital scale or a knob under the tray on a mechanical scale) or write down the weight of your bowl (tare).

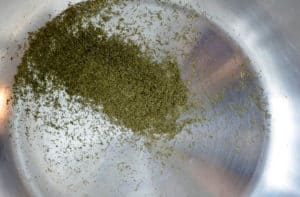
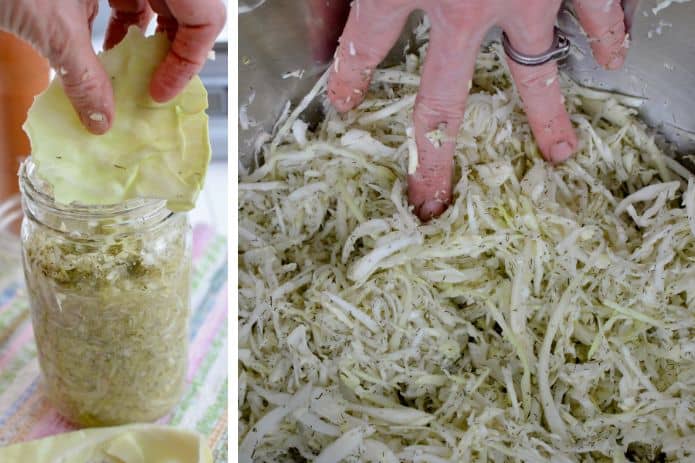
- CHOP. Prep Your Vegetables and CabbageSprinkle 1 tablespoon dried dill (or 3 tablespoons fresh, chopped) nto your bowl. Now, how simple is that?Discard the limp outer leaves of the cabbage, setting aside one of the cleaner ones for use during the SUBMERGE step.Quarter, then slice cabbage crosswise into thin ribbons. I leave the core in because I find it helps to hold the layers of cabbage together making the slicing job easier. There are many ways to slice that cabbage as reviewed in this post.Add sliced cabbage to your bowl until weight of dill and cabbage is 800 grams (1¾ pounds 28 ounces).
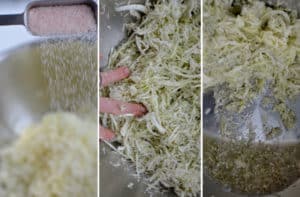
- SALT. Create Your BrineSalt pulls water out of the cabbage and vegetables to create an environment where the good bacteria (mainly lactobacillus) can grow and proliferate and the bad bacteria die off.Sprinkle cabbage with 1 tablespoon (16 grams) of salt and mix well. Then, massage the cabbage with strong hands until moist, creating the brine. You should be able to tilt the bowl to the side and see a good-sized puddle of brine, about 2–3 inches in diameter. This process can take anywhere from 2 to 5 minutes.
- PACK. Pack Mixture into JarOnce you have a small puddle of brine it is time to pack the mixture into your jar. Grab handfuls of the salty, juicy cabbage mixture and pack them into your quart-sized wide-mouth canning jar, periodically pressing the mixture down tightly with your fist or a large spoon so that the brine rises above the top of the mixture and no air pockets remain.Be sure to leave at lease 1 inch of space between the top of the cabbage and the top of the jar. Because we weighed out just the right amount of cabbage to fit in your jar, this should happen automatically.Pour any brine left in your mixing bowl into the jar and scrape out any loose bits stuck to the sides of the bowl or to the side of your jar.
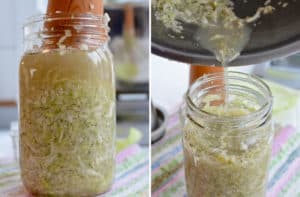
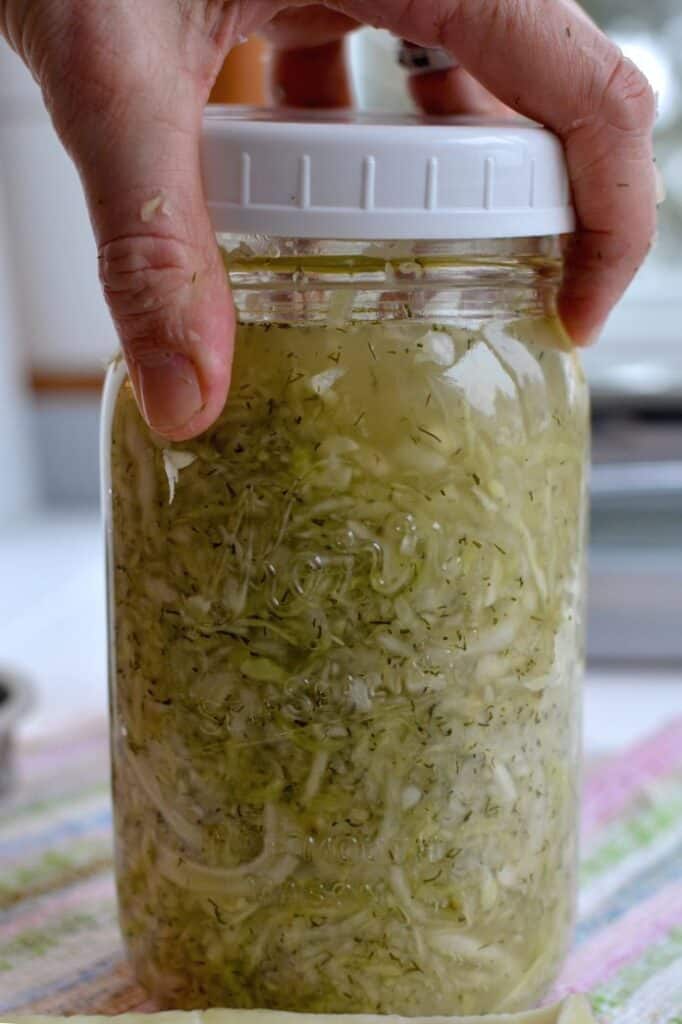
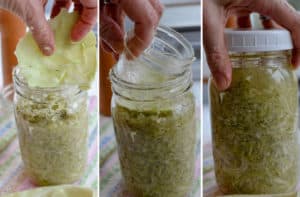
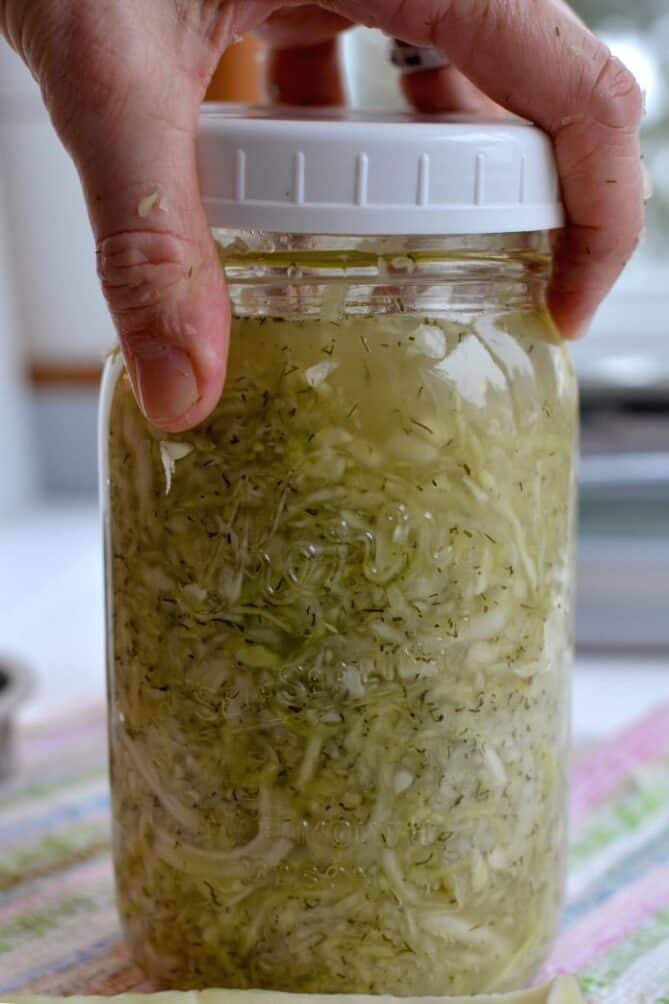
- SUBMERGE. Hold Ferment Below BrineNow make sure your fermenting mixture is in a safe anaerobic (no air) environment. This means that you need to keep the cabbage mixture submerged in the brine while it ferments. Take that cabbage leaf that you saved during the SETUP step, tear it down to just fit in the jar, and place it over the surface of the packed cabbage. Forgot to save a cabbage leaf? No problem. You can fold a narrow piece of parchment paper to size or even cut an old plastic lid to size. Place the 4-ounce jelly jar, or other fermentation weight, on top of the cabbage leaf, right side up with its lid removed. Lightly (to allow for escape of CO2 gases), screw on the white plastic storage lid.I like to label my jars using green or blue painter’s tape and a permanent marker. I note the flavor of sauerkraut I made and the date I started fermenting.
- FERMENT. Ferment for 1 to 4 WeeksTime now for the friendly bacteria to do their work while you watch and wait. Can you wait 7 days to taste the tangy crunch?In this image, you see the Kraut Source Fermentation Lid in use. See my review here.Place your jar of fermenting sauerkraut in a shallow bowl (to catch the brine that may leak out during the first week of fermentation), out of direct sunlight. Wait for 1 week before opening to sample.For what to expect as your sauerkraut ferments, see SALTY Cabbage to SOUR Sauerkraut: Fermentation Signs to MonitorShould the brine level fall (very unlikely) and remain below the level of the sauerkraut during this first week, dilute 1 Tbsp of salt in 2 cups of water and pour some of this brine over the sauerkraut (removing the little jar first) until it just covers the mixture. Put the little jar back in, screw the lid on lightly and let the fermentation continue.Don’t worry if the brine disappears after the 7- to 10-day mark. By this time, you’ve created a safe environment in which the bacteria that would cause mold or slime has been chased away by the beneficial bacteria produced during the fermentation process.You can ferment your sauerkraut for up to 4 weeks. The longer you ferment it, the greater the number and variety of beneficial bacteria that can be produced. One study shows bacteria levels peaking on day 21.
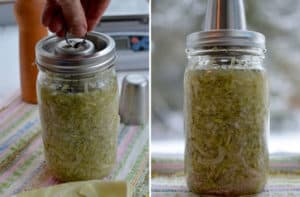
- STORE. Store in Refrigerator for Up to 1 YearAfter fermenting your sauerkraut, it’s ready to go into the refrigerator and ready to be eaten. Rinse off the outside of the jar. You can take the little jar out. Clean the rim if necessary (sometimes it can get sticky from the brine that overflows), and screw the lid back on tightly. Add to your label how long you fermented the contents.Enjoy a forkful or two of your sauerkraut with your meals. It will continue to ferment – aging like a fine wine – but at a much slower rate that before. If the flavors are too intense, leave it the jar for a month or two and then eat it. You will be amazed at how the flavors have changed.If successfully fermented (tastes and smells good), your sauerkraut can be kept preserved in your refrigerator for up to a year.
Notes and Tips
- If you’re going to use fresh dill, chop just the finer stalks, tossing the thicker parts.
- Dry herbs are three times stronger than fresh so plan on using almost a quarter cup of fresh dill in this recipe.
- Fresh dill is available at markets during the summer and early fall.
- The flavors of Dilly Delight Sauerkraut meld nicely with fish, like smoked salmon. Make a protein-rich salad by mixing some slices of salmon and Dilly Delight Sauerkraut with a bit of sour cream. You may need to first thin the sour cream with some cream or milk. Mix together, grind a bit of pepper over it and you’re good to go.
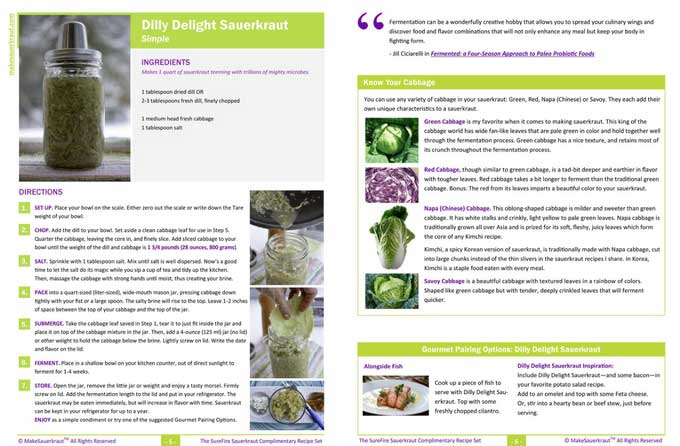
Dilly Delight Recipe PDF
FREE PDF Download
Use the button below to get your own PDF copy of the Dilly Delight Recipe.
Click to Download the above PDF for my Dilly Delight Recipe with its useful set of tips and Gourmet Pairing Options on the backside. No OPTI-IN is required.
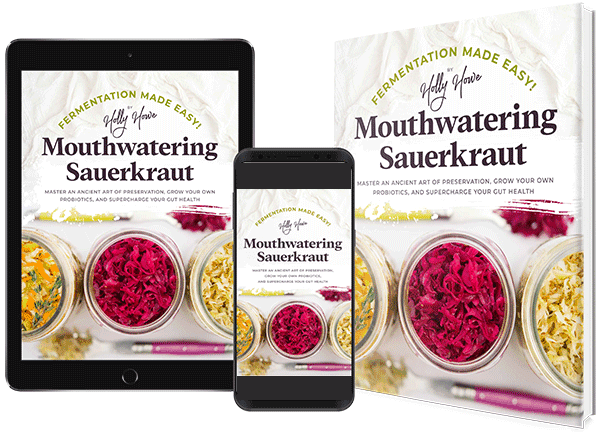
The Book That Will Transform Your Meals, And… Your Health
Learn to make gut-healing sauerkraut to instantly add delicious flavors to your meals. Step-by-step, easy-to-follow instruction with photos and tips.
Last update on 2024-07-26 / Affiliate links / Images from Amazon Product Advertising API


 This post may contain affiliate links which won’t change your price but will share some commission.