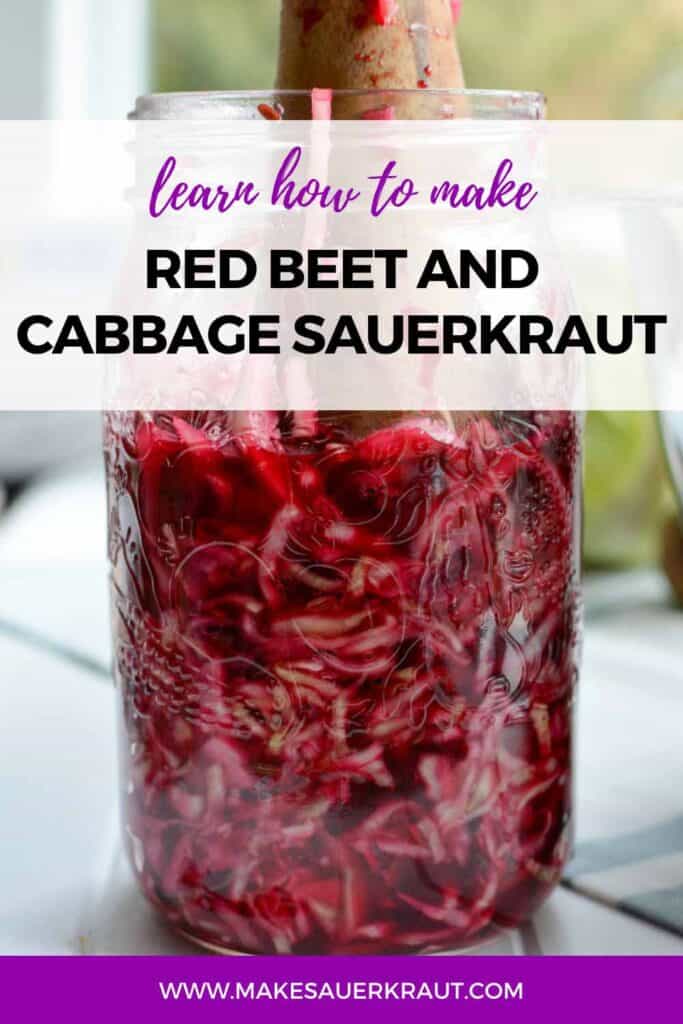
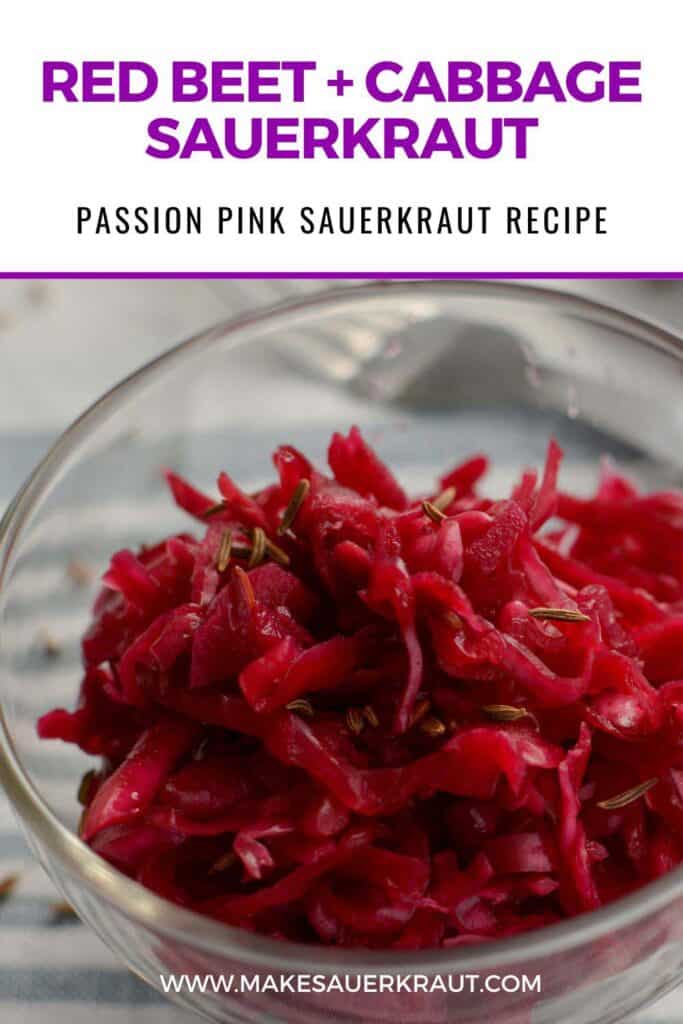
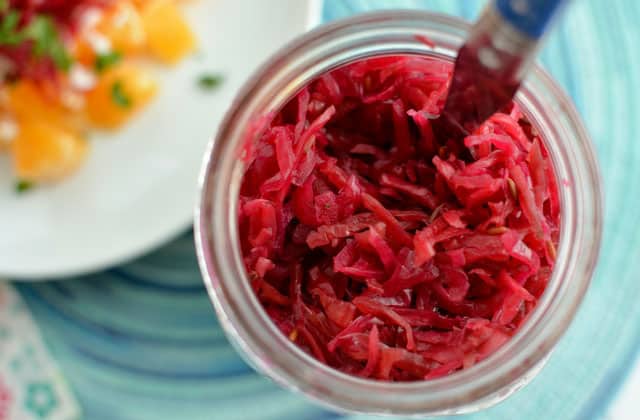
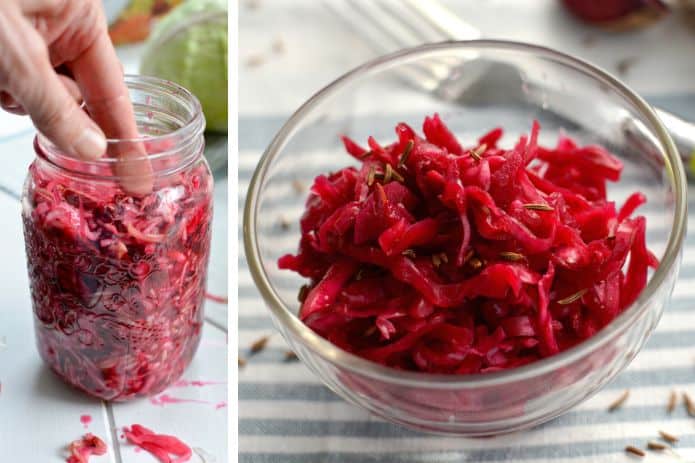
This Red Beet and Cabbage Sauerkraut recipe is a nice twist on traditional sauerkraut. Grated beets add a beautiful ruby-red color which is balanced and mellowed by the crunchy, mild sweetness of cabbage with hints of garlic and caraway. This versatile sauerkraut will add a probiotic-rich pop of flavor to any dish. Toss it on a salad, pile it on top of avocado toast, or slather it on a burger.
I wanted to report back on how our first batch of this recipe turned out. In a word: “dee-lish!”
—Bethann
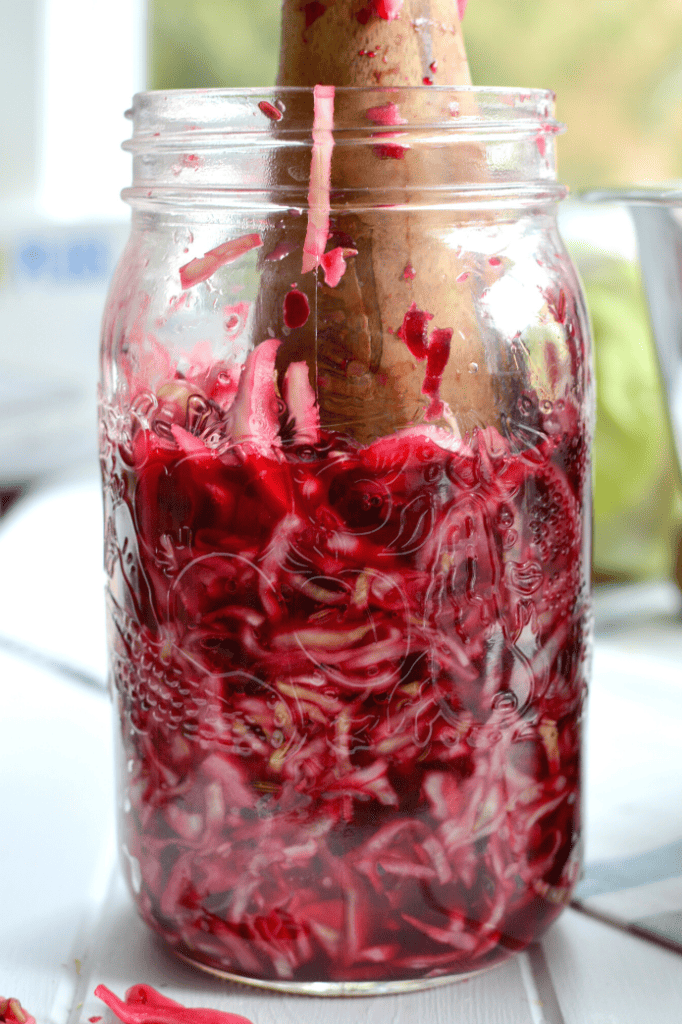
Enjoy, the vibrant red beets, with their
Earthy notes.
And,
Numerous health benefits.
Making this beetroot sauerkraut recipe absolutely delicious.
I also like to call this recipe Passion Pink Sauerkraut.
Health Benefits of Beets
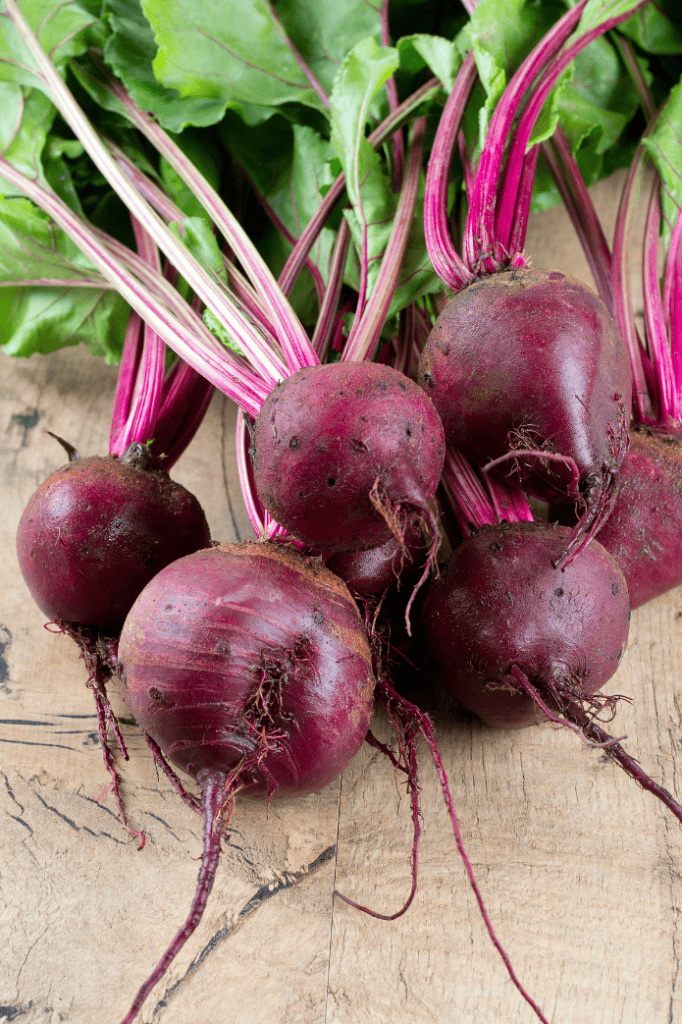
Beets are an amazing source of minerals and unique health-boosting nutrients. These grungy-looking roots are sweet, impart a beautiful ruby-red color to your sauerkraut and pack tons of flavor underneath their rugged exterior.
They are a wonderful tonic for the liver, working to purify the blood. The plant pigment that gives beets their rich, purple-crimson color is betacyanin; a powerful agent thought to suppress the development of some types of cancer. I can’t say enough about my love for beets.
And, I’ll bet you didn’t know this.
Studies show that beetroot juice boosts your stamina. A 2009 study shows that the nitrate contained in beetroot juice leads to an increase in oxygen uptake, making exercise less tiring. Participants in this study drank 500 ml of the juice per day for six consecutive days before completing the tests.
Yes, a serving of beetroot sauerkraut alone will not get close to delivering 500 ml of beetroot juice, but it still is imparting a wide range of benefits.
Fermented beets on their own are also a great way to enjoy their many benefits.
If you enjoy beets in your sauerkraut, my Fermentation Made Easy! Mouthwatering Sauerkraut book contains two recipes rich in beets: Cardamom Beet Sauerkraut and Rosemary Beet Sauerkraut.
Just the color these sauerkrauts add to your plate, especially in the dead of winter, is enough to brighten any day.
Note: If this is your first time making sauerkraut, learn how to choose the best cabbage for sauerkraut, and use my tutorial:
Absolutely the Best Homemade Sauerkraut Recipe {In a Jar},
with its step-by-step photography, tips, and additional fermentation information first, then return to this recipe.

And, once you are comfortable making sauerkraut in a jar and want to make larger batches follow: The SureFire Sauerkraut Method… In a Crock: 7 Easy Steps.

Key Ingredients for Beet Sauerkraut
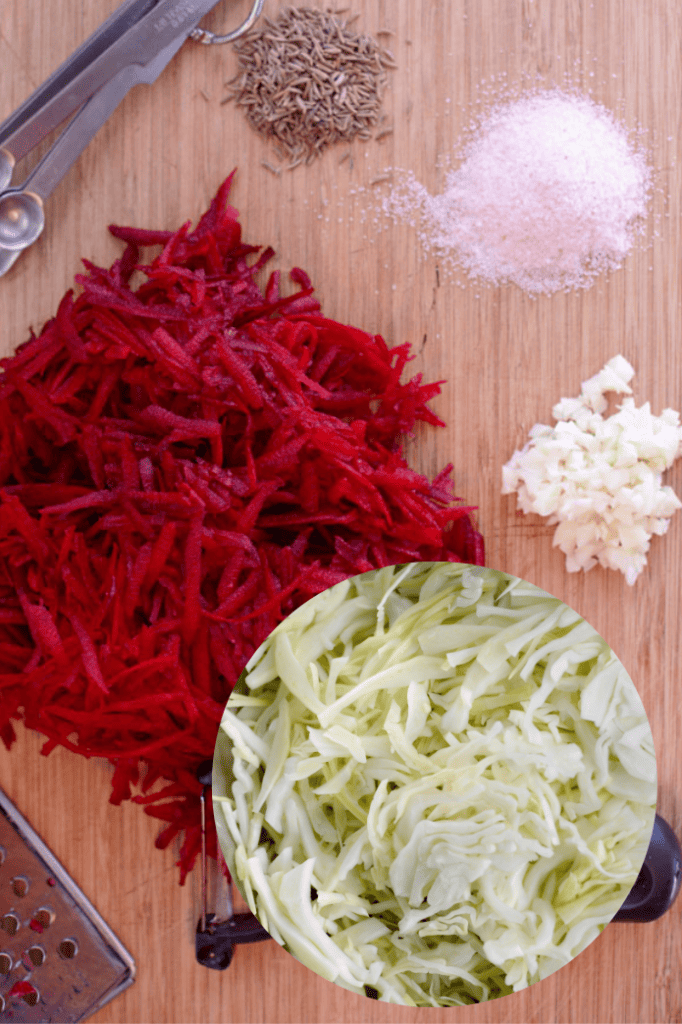
This sauerkraut, also rich in vitamin C, is made from beets, cabbage, garlic, and caraway seeds.
- Red beets: The use of red beetroot results in the best color and flavor for your finished sauerkraut. Golden beets tend to turn brown. Stripped beets can lose their color turning to a dull gray.
- Ideally, use fresh beets, purchased with their tops still on. Older beets can be tough, hard to grate, and lacking in flavor.
- Green cabbage is used in this recipe, though red cabbage (purple cabbage) works great.
- Minced garlic and caraway seeds beautifully meld with the earthy tones of the beets for a lip-smacking flavor.
- Substitutions? Feel free to use red cabbage (purple cabbage) in place of green or a fifty-fifty mix. If you want to use grated ginger instead of garlic, replace the caraway seeds with anise seeds for a lovely flavor combination. Or, check out my red cabbage sauerkraut recipe.
Major Success Tips for Beetroot Sauerkraut
It’s the ratio of beets to cabbage in this recipe that makes the fermentation process in this recipe succeed.
Beets have the highest sugar content of all vegetables. This is not a bad thing, but too large a quantity of shredded beets in your sauerkraut shifts your ferment towards yeast and alcohol.
Not what any of us wants. Use the right amount.
- Keep grated (shredded) under 25% of the total weight for the recipe. For an 800-gram batch (1 quart/1 liter) use 200 grams (7 ounces) of shredded beets.
- Peel your beets. This will remove the “dirt” taste and any toughness in the beets. If I’m making an extra-large batch of sauerkraut, I pull out my food processor. Otherwise, use your hand grater, and glove, if you don’t want a red hand for a day or two.
- Want to remove the red stain from your hands? If your hands become stained with beetroot, rub them with lemon juice and salt before then washing them with soap and water.
- Don’t like the garlic smell on your hands? Many swear by the stainless steel trick. Rub soapy hands on the faucet (and then dry it with a towel). Clean hands, shiny faucet. Me? I just wash my hands immediately with soap and water and it’s fine.
- Lots of brown foam during fermentation? Open your jar and use a spoon to remove what you can.
- Browning dull colors in your finished sauerkraut? With beet sauerkraut, you may notice—if conditions aren’t optimal, or beets are super old—the color might leach out, making the top inch or so of your sauerkraut turn a bit brown.
This is oxidation and it can occur during fermentation or when stored for too long in your refrigerator. Just scoop off the browned section and enjoy the goodness below. Ideally, eat sauerkraut containing beets within 5-6 months of fermentation. - Fermentation weight? The recipe calls for a small 4-ounce (125 ml) “Jelly” canning jar which is used as a weight to hold the fermenting sauerkraut below the brine to keep an anaerobic environment. For other ideas on what to use as a weight see: Fermentation Weights: Keep Your Ferment Below the Brine
Recipes that use Red Beet Sauerkraut
If you want to highlight the flavors of this mineral-rich, vitamin C-rich sauerkraut in a dish, check out these two recipes.
Delicious Sauerkraut Salads with Local Vancouver Island Ingredients
Fermented Beet and Orange Sauerkraut Salad Recipe [Beat the Winter Blues]
For more ideas, explore my ever-growing list of ways to enjoy your sauerkraut.
The Five Tools I Grab Every Time I Make Sauerkraut
Red Beet and Cabbage {Passion Pink} Sauerkraut

Red Beet and Cabbage Sauerkraut
EQUIPMENT
- Kitchen scale, ideally digital
- Cutting board and large knife
- Large mixing bowl
- Vegetable peeler, grater and measuring spoons
- 1-quart (L) wide-mouth canning jar or similar sized jar
- 4-ounce (125 ml) canning jar (jelly jar) (or other "weight")
- Wide-mouth plastic storage cap (or lid and rim that comes with jar)
INGREDIENTS
- 1 medium head fresh green cabbage, 2 ½–3 pounds (1 kg)
- 2-3 medium beets (200 grams)
- 2-3 garlic cloves (20 grams)
- 1 teaspoon caraway seeds
- 1 tablespoon (16 grams) iodine-free salt (fine-grain)
INSTRUCTIONS
- SET UP. Gather Supplies and Set Up ScaleUsing a digital scale to make your sauerkraut will ensure that you add the correct amount of salt for a safe fermentation environment. Set it to grams, the easiest measurement in which to make calculations.You don't want to include the weight of your bowl in your measurements, so either tare (zero) your scale or write down the weight of your bowl.
- CHOP. Prep Your Vegetables and CabbageYou will need 800 grams (1¾ pounds, 28 ounces) of vegetables and cabbage in your bowl.When making sauerkraut, you first prepare the flavoring ingredients—grated beets, minced garlic, carawy seeds—then add sliced cabbage. This allows you to add only as much sliced cabbage as necessary to hit 800 grams (1¾ pounds, 28 ounces) on the scale.Peel and grate 200 grams of beets, mince garlic, and place in your bowl along with the caraway seeds.Discard the limp outer leaves of the cabbage, setting aside one of the cleaner ones for use during the SUBMERGE step.Quarter, then slice cabbage crosswise into thin ribbons. I leave the core in because I find it helps to hold the layers of cabbage together making the slicing job easier.Add sliced cabbage to your bowl until the weight of your vegetables and cabbage is 800 grams (1¾ pounds, 28 ounces).
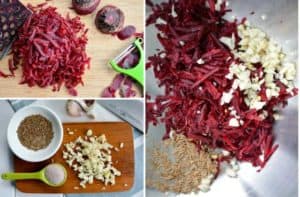
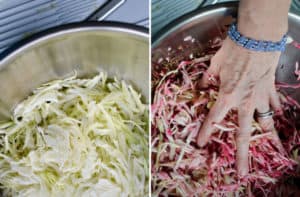
- SALT. Create Your BrineSalt pulls water out of the cabbage and vegetables to create brine where the good bacteria (mainly lactobacillus) can grow and proliferate and the bad bacteria die off.Sprinkle vegetables and cabbage with 1 tablespoon (16 grams) of salt and mix well.If you want the salt to do most of the work for you, you can leave your salted and well-mixed bowl of cabbage sit for 20-60 minutes. Then, massage the vegetables with strong hands until moist, creating the brine. You should be able to tilt the bowl to the side and see a good-sized puddle of brine, about 2–3 inches in diameter. This process can take anywhere from 2 to 5 minutes.
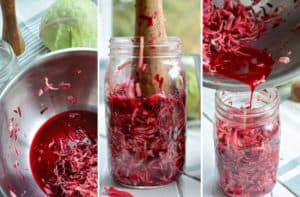
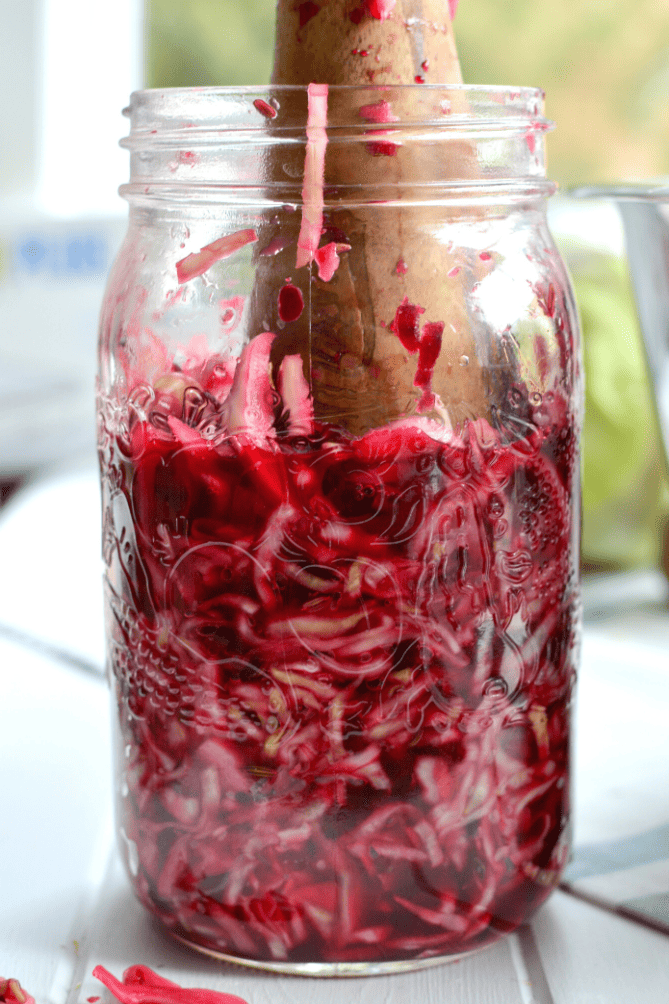
- PACK. Pack Mixture into JarNow that you have a puddle of brine, it's time to pack the cabbage mixture into your jar.Grab handfuls of the salty, juicy cabbage mixture and pack them into your quart-sized (liter) wide-mouth canning jar, periodically pressing the mixture down tightly with your fist or a large spoon so that the brine rises above the top of the mixture and no air pockets remain.Be sure to leave at least 1 inch of space between the top of the cabbage and the top of the jar. Because we weighed out just the right amount of cabbage to fit in your jar, this should happen automatically.Pour any brine left in your mixing bowl into the jar and scrape out any loose bits stuck to the sides of the bowl or to the side of your jar.Lastly, wipe down the outside of your jar and push down any loose bits stuck to the sides of the bowl or the side of your jar.
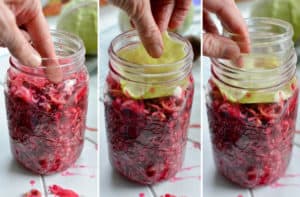
- SUBMERGE. Hold Ferment Below BrineNow make sure your fermenting mixture is in a safe anaerobic (no air) environment. This means that you need to keep the cabbage mixture submerged in the brine while it ferments. Floaties Trap. Take that cabbage leaf you saved during the SETUP step, tear it down to just fit in the jar, and place it over the surface of the packed cabbage.Forgot to save a cabbage leaf? No problem. You can fold a narrow piece of parchment paper to size or even cut an old plastic lid to size. Place the 4-ounce jelly jar—or whatever you are using as a weight—on top of the cabbage leaf, right side up with its lid removed.Lightly (to allow for CO2 gases to escape), screw on the white plastic storage lid.I like to label my jars using green or blue painter's tape and a permanent marker. I note the flavor of sauerkraut I made and the date I started fermenting.
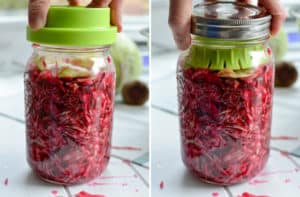
- FERMENT. Ferment for 1 to 4 WeeksTime now for the friendly bacteria to do their work while you watch and wait. Can you wait 7 days to taste the tangy crunch? Place your jar of fermenting sauerkraut in a shallow bowl (to catch the brine that may leak out during the first week of fermentation), out of direct sunlight. Wait for 1 week before opening to sample.The jar on the left is Day 1; right, Day 5.For what to expect as your sauerkraut ferments, see SALTY Cabbage to SOUR Sauerkraut: Fermentation Signs to MonitorShould the brine level fall (very unlikely) and remain below the level of the sauerkraut during this first week,dilute 1 Tbsp of salt in 2 cups of filtered waterand pour some of this brine over the sauerkraut (removing the little jar first) until it just covers the mixture. Put the little jar back in, screw the lid on lightly and let the fermentation continue.Don’t worry if the brine disappears after the 7- to 10-day mark. By this time, enough lactic acid has been produced to create a safe environmentYou can ferment your sauerkraut for up to 4 weeks. The longer you ferment it, the greater the number and variety of beneficial bacteria that can be produced.
- STORE. Store in Refrigerator for Up to 1 YearAfter fermenting your sauerkraut, it's ready to go into the refrigerator and ready to be enjoyed.Rinse off the outside of the jar. You can take the little jar out, or whatever you used as a fermentation weight. Clean the rim if necessary (sometimes it can get sticky from the brine that overflows), and screw the lid back on tightly. Add to your label how long you fermented the contents.Enjoy a forkful or two of your sauerkraut with your meals. It will continue to ferment—aging like a fine wine—but at a much slower rate than before.If the flavors are too intense, leave the jar in your fridge for a month or two and then eat it. You will be amazed at how the flavors have changed.If successfully fermented (tastes and smells good), your sauerkraut can be kept preserved in your refrigerator for up to a year.
Notes and Tips
- When adding the grated beets to the scale, I keep an eye on the weight and try to keep it under 25% of the total weight for the recipe. For a 1-quart (liter) batch: 200 grams (7 ounces ). This should control the growth of yeasts.
- Peel beets first to get rid of the “dirt” taste.
- If your hands become stained with beetroot, rub them with lemon juice and salt before washing them with soap and water.
- If your sauerkraut loses its color and turns a bit brown, just scoop off the browned section and enjoy the goodness below.
- Try to eat sauerkraut containing beets within 5-6 months of fermentation.
The Book That Takes The Guesswork Out Of Making Sauerkraut
Struggling to make sauerkraut with good flavor and no mold? Discover my 7-step process to ferment delicious sauerkraut that you’re not afraid to eat.
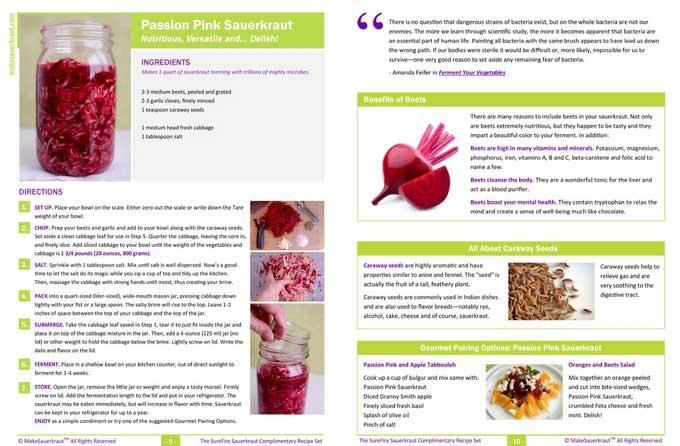
Passion Pink Sauerkraut Recipe PDF
FREE PDF Download
Use the button below to get your own PDF copy of the Passion Pink Sauerkraut Recipe.
Click to Download the above PDF for My Passion Pink Sauerkraut Recipe with its useful set of tips and Gourmet Pairing Options on the backside. NO OPTI-IN required. And, please accept my apologies for the off-colors on the first page. I haven’t yet been able to prevent that during file conversion. 🙁
Last update on 2024-07-26 / Affiliate links / Images from Amazon Product Advertising API


 This post may contain affiliate links which won’t change your price but will share some commission.