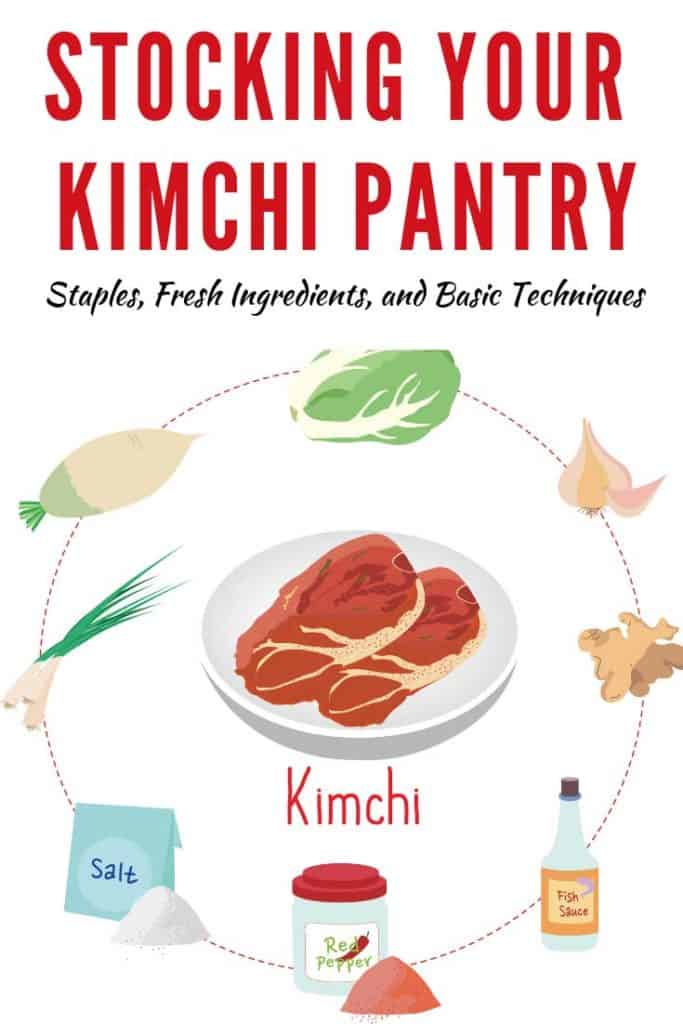
Are you ready to make your first batch of kimchi but are finding yourself confused by some obscure ingredients?
Do you really need fish sauce? Salted shrimp?
And, what all goes into making that fiery, red paste seen in kimchi?
In this post, I help you understand kimchi’s special ingredients, why you need them, and what to look when buying these special ingredients for your kimchi pantry.
Once your pantry is stocked, you will be ready for Kimjang, the making, and sharing of kimchi.
The Kimchi Series: Learn to Ferment Kimchi with Confidence
This article is part of a set of blog posts in which you learn about the key ingredients in kimchi, the various types of kimchi, ways to ferment kimchi, and make a variety of kimchis such as Daikon Radish Cube Kimchi (Kkakdugi), Napa Cabbage Kimchi (Baechu), Brussels Sprouts Kimchi, and Stuffed-Cabbage Kimchi (Poggi). Perhaps, even Instant Apple, Persimmon, and Pear Kimchi (Saqyua, Gaam, Bae).
A Fun Fact to Motivate You to Add Kimchi to Your Diet
Due to fermented ingredients—like fish sauce—in many kimchi recipes, a single variety of kimchi might contain more than one hundred different types of microorganisms. And, a single gram of that fermented kimchi contains some 100 million lactic acid bacteria. From Cultured by Katherine Harmon Courage.
Techniques & Ingredients
Fish Sauce, the Secret Ingredient to Transform Your Kimchi
Gochugaru, Korean Red Pepper Powder
Stocking Your Kimchi Pantry: Staples, Fresh Ingredients, Basic Techniques
Recipes
Kimchi Seasoning Paste
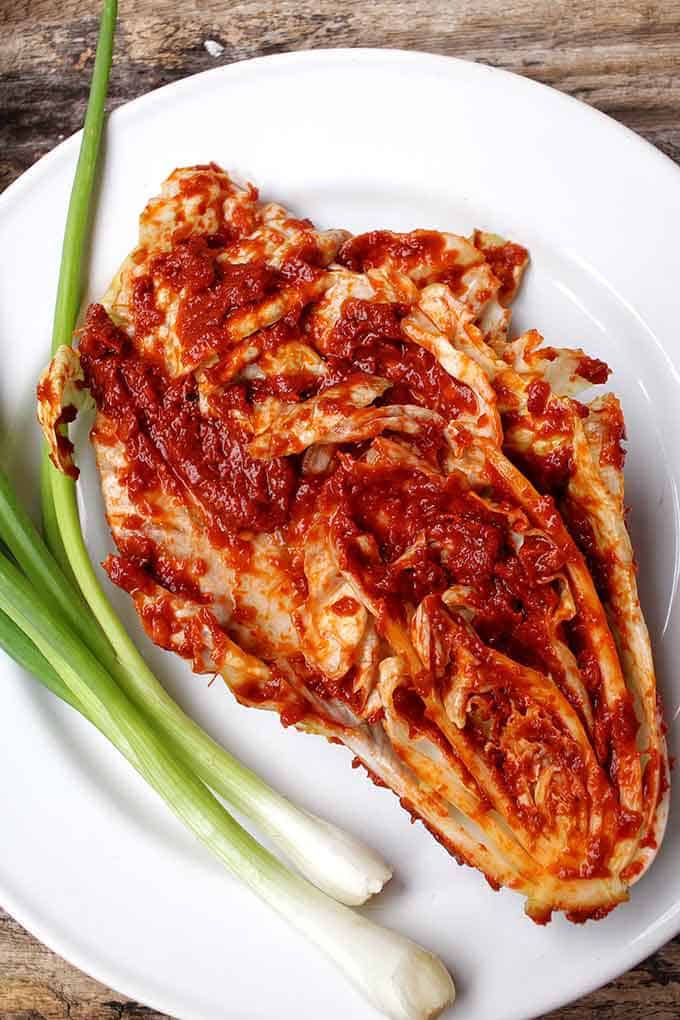
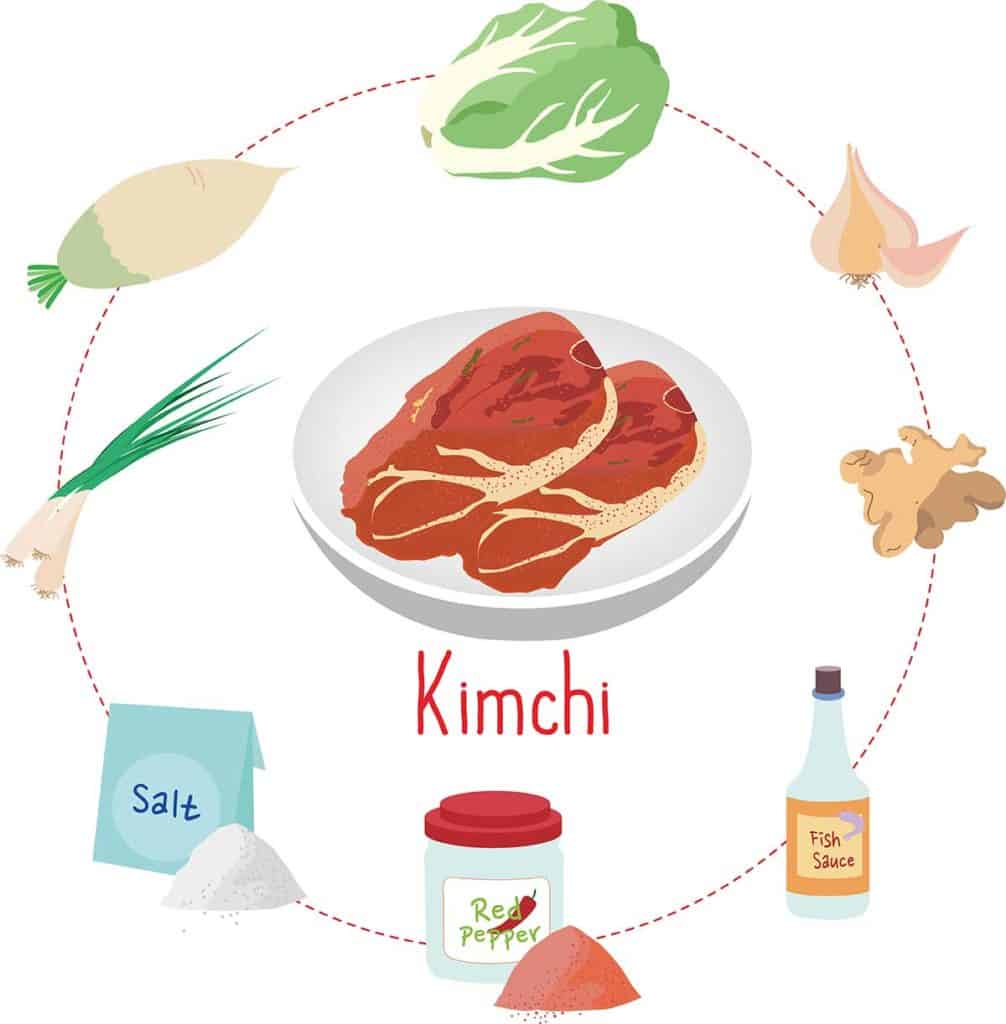
Kimchi seasoning paste is the bright red sauce you see coating the cabbage in many kimchi ferments. Typically, it includes:
- Korean red pepper powder (Gochugaru)
- Fish sauce
- Salted shrimp
- Onion
- Garlic
- Ginger
- Sweet rice-flour paste
- Sugar
- Salt
Don’t confuse this with gochujang, a popular Korean sauce fermented for months in porous earthenware pots, and used as a dipping sauce much as we would use ketchup.
Now, an explanation of the ingredients in kimchi red pepper paste.
Korean Red Pepper Powder (Gochugaru)
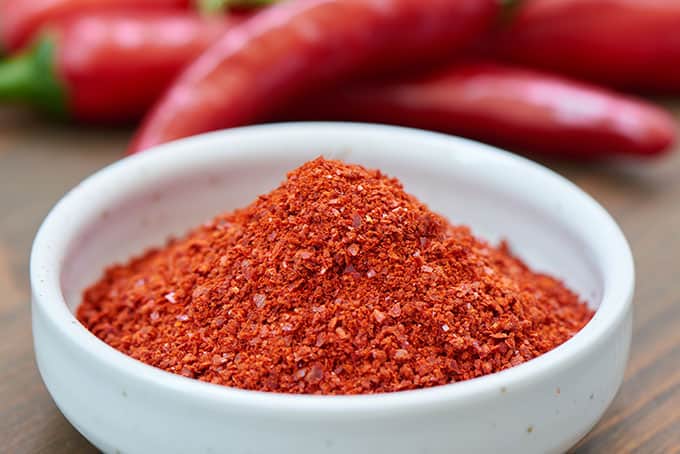
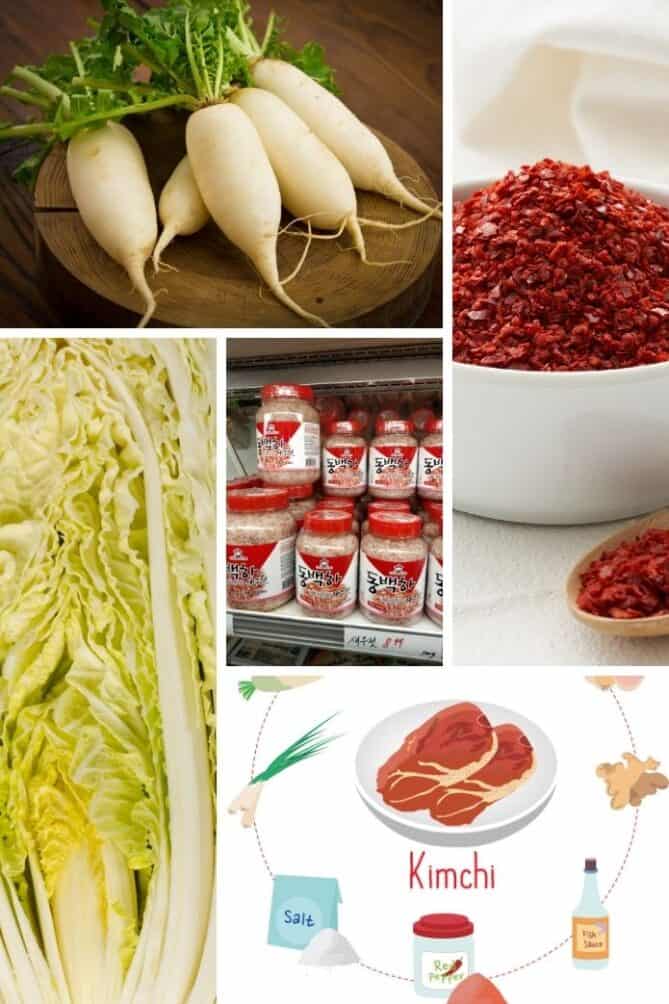
Gochugaru is the predominant spice in kimchi with its vibrant red color making it the most visible ingredient. It is not hot and spicy like the red pepper flakes you may be familiar with so don’t be surprised when you see kimchi red pepper paste recipes calling for a ½ cup or more of these beautiful flakes.
I talk about gochugaru in greater detail in this post where I give suggestions for substitutions along with including links to other recipes that call for gochugaru.
According to Lauryn Chun in The Kimchi Cookbook, the dried and crushed red peppers in kimchi:
…also play a role in long-term fermentation as capsaicin, the chemical compound in chili that makes it spicy also prevents white film bacteria growth and sustains acidity during long-term fermentation.
If you’re shopping in a Korean market, you may find both coarse and fine ground. For kimchi, you’ll want the coarse grind. The highest-quality gochugaru will be sun-dried and list just red pepper powder on the label. You should see no other ingredients.
Store gochugaru in an airtight container to avoid oxidation and keep in your fridge or freezer to shield it from direct sunlight, and to retain freshness.
Fish Sauce

Kimchi is usually made with some type of fermented seafood with fish sauce and salted shrimp being the most common. Regional styles of kimchi vary and you may see some recipes calling for oysters, sardines, squid, or other seafood. These fermented proteins add an important balance to kimchi that helps offset its acidity and adds complex flavor notes that are hard to duplicate.
The enormous dose of umami that fish sauce provides makes it worth putting up with the somewhat fishy aroma during fermentation.
Fish sauce is a liquid condiment prepared from fermented anchovies and salt. It should only contain fish and salt. There should be no fructose, hydrolyzed protein, preservatives, MSG, or added water.
Once it’s opened, ideally consume within 30 days for the best taste and flavor. Always keep the cap closed to prevent air exposure, and if you like, refrigerate after opening.
Substitutions
If you are looking for a substitution for fish sauce or wanting to keep your kimchi vegetarian, miso, coconut aminos, Worcestershire sauce (not vegan), soy sauce, Vegemite. and Marmite can all work as a substitute for fish sauce and are discussed in greater detail here.
All of these substitutions are rich in umami and will add depth to your kimchi. I made a batch of kimchi using one tablespoon of miso (in place of the fish sauce and salted shrimp) and liked the results, though the flavor profile was not as complex as the batch of kimchi using fish sauce and salted shrimp.
Vegan Mian has a recipe for a vegan fish sauce that uses pineapple juice and soy sauce. Brilliant Vegan Fish Sauce
Salted Shrimp (Saeujot)
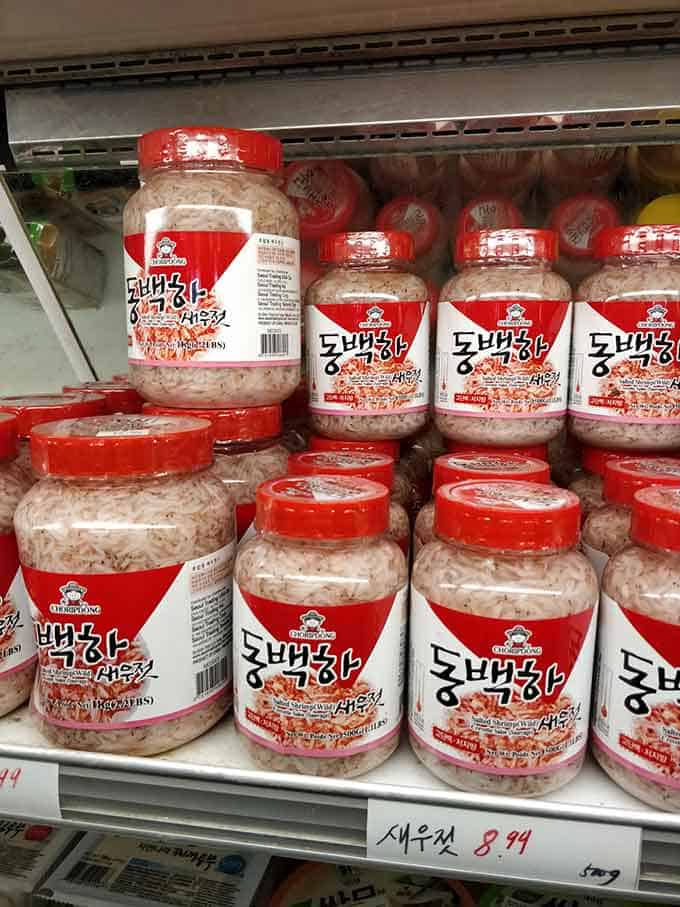
Salted shrimp, ubiquitous in Korea, is highly prized as an essential flavor enhancer in certain types of kimchi.
The name for salted shrimp consists of the two Korean words, saeu (새우 shrimp) and jeot (젓 salted seafood). Jeot – or Jeotgal – is a category of preserved dishes made with seafood such as shrimps, oysters, clams, fish, and roe. Liquid jeotgal, call aekjeot, is fish sauce as I covered in Kimchi Series: Fish Sauce is also a key ingredient in kimchi.
The process for making fermented shrimp is fairly simple and consists of little more than tossing tiny shrimp with a goodly amount of salt and letting the whole mess brew for weeks or months at a time.
Salted shrimp is widely available in Korean markets. I made a trip down to our closest city – Victoria – to purchase mine.
Look for clear, translucent bodies suspended in a salty, luminous liquid. They are very, very tiny and come in refrigerated jars. Try to find something that is made with just salt and shrimp, and does not include additional ingredients like vinegar or lemon juice.
Store salted shrimp in the fridge where it will keep for at least a year. Salted shrimp should be drained before using.
Substitutions
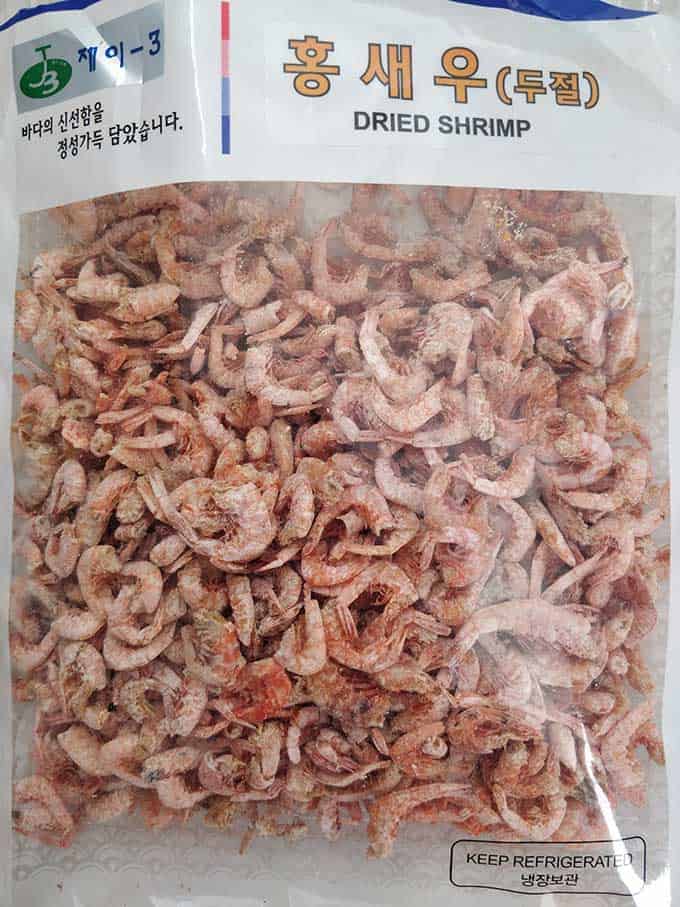
Both Vietnamese salted shrimp paste sauce and dried shrimp can be substituted for salted shrimp. When using dried shrimp in your kimchi seasoning paste, first grind them in a spice grinder.
Do I need to reduce the amount of salt called for in my recipe when using fish sauce and salted shrimp?

As you can see from this nutrition label for Red Boat Fish Sauce, one tablespoon (typical amount used in a one-quart batch of kimchi) contains 1490 mg of sodium or 1.49 grams. The label of the jar of salted shrimp I purchased indicates that one tablespoon of salted shrimp contains 2820 mg or 2.82 grams of sodium. By adding one tablespoon of each of these to your ferment, you are adding 4.31 grams of sodium.
In my experimental batches of kimchi, the batch containing both the fish sauce and the salted shrimp definitely tasted saltier than the other batches on day one. By the end of the week, flavors had developed such that it no longer had a pronounced salty flavor.
When looking to adjust salt quantities, we have to keep in mind, however, that traditional kimchi is made using a different process than sauerkraut.
With kimchi, individual leaves of Napa cabbage are either salted and left to soak in the brine created or cut and soaked in a prepared high-salinity brine, anywhere from 5% to 15%.
The Napa cabbage is soaked for anywhere from a few hours to overnight, then drained, rinsed, and next mixed with the red pepper paste. Typically, no salt is added to the red pepper paste. Therefore, for traditional kimchi recipes, no adjustment is needed in salt quantities.
With sauerkraut, ingredients are weighed and a percent of salt – usually 2% – added to create a brine in which the cabbage ferments. If I was adding fish sauce and salted shrimp to a standard sauerkraut recipe, like my Kimchi-Style Sauerkraut, I would reduce the amount of added salt by a few grams to account for the added sodium in these ingredients.
Garlic
Minced or puree fresh garlic is a flavorful component of the kimchi seasoning paste. Don’t go overboard, however, as too much garlic in kimchi can make the overall flavor bitter.
Ginger
Finely grated or pureed fresh ginger is another essential element to the flavor of kimchi. Start off with twice as much ginger as garlic and then adjust to fit your personal tastes for future batches.
Sweet Rice Flour
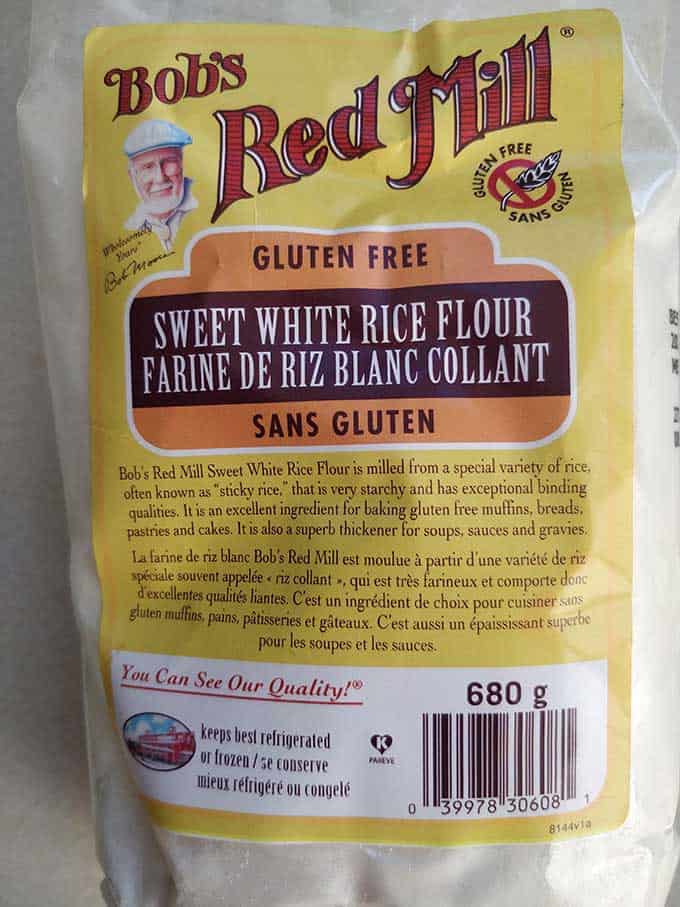
Many kimchi recipes call for rice porridge, a mixture of rice flour and water, heated to a boil and then cooled. Rice porridge adds body to the kimchi and encourages the growth of the right bacteria for good fermentation.
Many Koreans prefer sweet rice flour, but any rice flour will do. You’ll want to make the rice porridge in advance so that it is cool when you are ready to assemble your kimchi. I make mine the day before and store it in a small jar in the fridge where it will keep for a few days.
Not all traditional kimchi recipes use rice paste, as JinJoo Lee from the Kimchimari website explains:
Personally I think it diminishes the fresh taste of Kimchi and takes away some of the zing that I love in a great Kimchi. But some people (many from the Southern region) actually prefer it this way and they say it deepens the taste and has a more concentrated flavor.
Substitutions
Any starchy flour. Nut and coconut flours are not recommended.
Sugar
Although many would not think to include sugar in a ferment, it is necessary in order to balance the flavors of the different vegetables. Some feel that not using sugar, or enough sugar, can lead to kimchi with bitter, sour notes. Others find that sugar makes for soft and fizzy kimchi.
Most recipes call for 1 or 2 teaspoons of sugar for one quart (liter) of kimchi.
Substitutions
Pureed apple, pear, or sweet onion are common substitutes for sugar.
Salt
When making sauerkraut, I always use Himalayan pink salt. However, with kimchi, you are using it in large quantities to make a 5-15% salt solution in which to soak your cabbage. That can get expensive.
I instead use “pickling” salt that has a coarse grain and contains no additives. Pure canning and pickling salt has no additives or anti-caking ingredients, whereas “Kosher” salt may or may not have additives in it.
Sesame Seeds
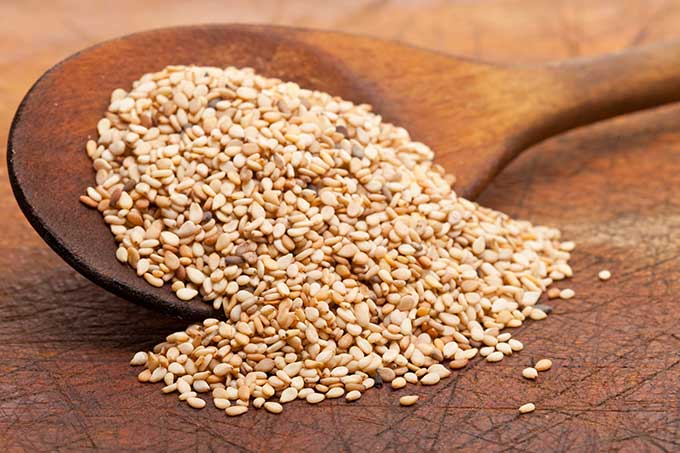
You may want to keep some toasted sesame seeds in your pantry to sprinkle on your kimchi just before eating it. They add a bit of crunch and a rich, nutty flavor. Buy them raw and roast in a low oven.
Kimchi Gloves

If you have sensitive hands or plan to make many batches of kimchi, you might want to pick up some kimchi gloves from an Asian market. I grabbed a pair of these when I was buying my salted shrimp and dried shrimp.
I probably won’t use them – other than for a photo – since I like to feel what I’m working with. The red pepper powder didn’t bother my hands for the few batches of kimchi I’ve made so far.
However, since salt can be harsh on your hands, you may want to wear gloves when individually salting the leaves of Napa cabbage when making whole-leaf kimchi.
Kimchi Vegetables
The vegetables for kimchi are prepared separately from the paste. The cabbage and radish are first salted or brined. Then, drained and mixed with the kimchi seasoning paste and cut chives before being packed into jars or a crock.
Napa Cabbage
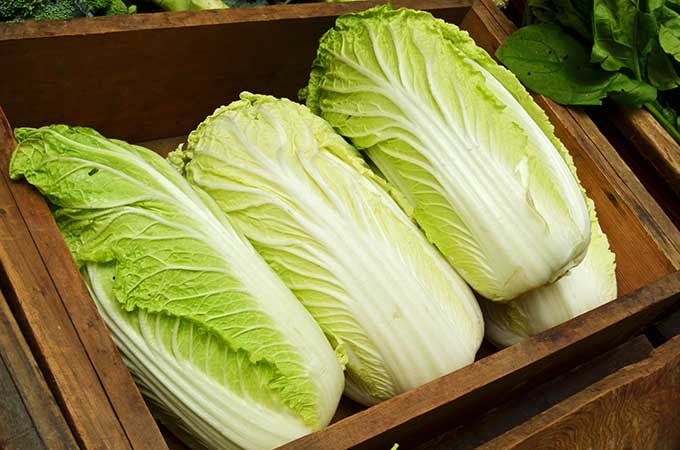
From the Japanese word nappa, Napa cabbage, also called Chinese cabbage, is an oblong-shaped cabbage that is milder and sweeter than green cabbage. It has white stalks and crinkly, light yellow to pale green leaves. Napa cabbage is traditionally grown all over Asia and is prized for its soft, fleshy, juicy leaves, which form the core of any kimchi recipe.
If you are able to shop at an Asian market, you might find Korean cabbage which is bigger and heavier than Napa cabbage. A single, firmly packed medium-sized cabbage will weigh 3-4 pounds. Look for cabbage that seems firm and heavy for its size, with fresh, crisp-looking leaves that are tightly packed and aren’t wilting or blemished. Store in a plastic bag in the refrigerator.
Napa cabbage is a real joy to work with. You first cut it in half by making a cut just through the base when the leaves join. Then, you gently pull apart the leaves.
Daikon Radish
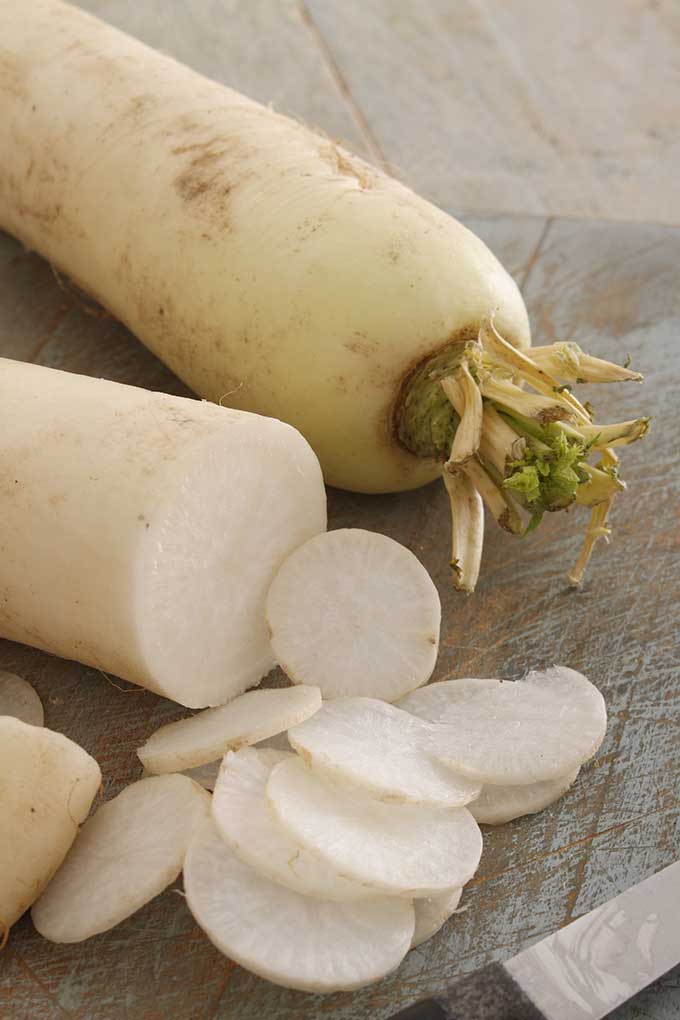
Daikon radish delivers an extra crunch to kimchi. It has a mild flavor and makes it an excellent blank canvas for showcasing the flavor of seasoning paste.
At the market, feel the weight of the various radishes and grab the ones that seem heavy for their size. If you see air holes in the radish when you cut it open, that means it is dried out and will turn spongy during fermentation.
Substitutions
Korean radish, which is shorter and sweeter than the Japanese daikon and less juicy and can also be used. White turnips, red radish, parsnips, and jicama could also work as substitutes.
Korean Chives (buchu)
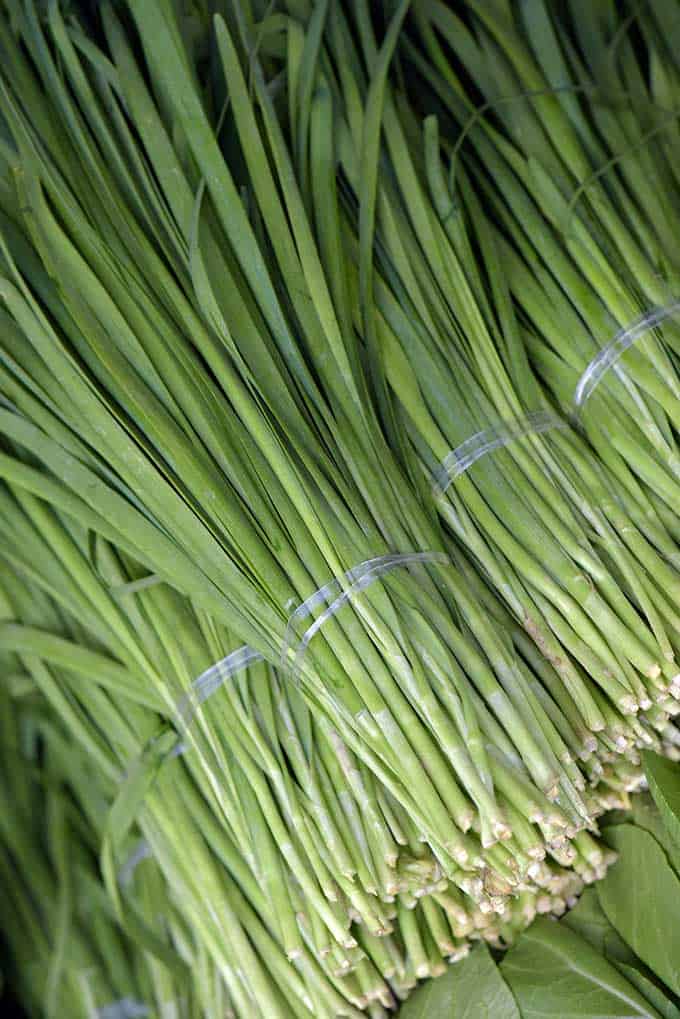
Sometimes called Chinese chives or garlic chives, Korean chives are a member of the onion family and have long blade-shaped flat leaves and a mild onion flavor. Whereas green onions (scallions), or chives are hollow, garlic chives are distinguishable from chives by their flat, broader leaves eaves are flatter and broader. Available in Korean markets.
Substitutions
If you can’t find Korean chives, substitute green onions (scallions). They work though they don’t hold up as well as the flat-leafed chives.
Kimchi Techniques
The skills for making kimchi cover salting, how to cut your cabbage and ingredients, and making sweet rice-flour porridge for use in the red pepper paste.
Salting
When making traditional stuffed kimchi (Poggi Kimchi), Napa cabbage is cut in half and then large amounts of salt are added directly to the cabbage one leaf at a time, with more salt being applied at the thick core than on the thin leaves.
The cabbage halves are then stacked into a large bowl or deep stockpot and left to sit awhile before pouring a cold salty brine over them. Then, a heavy plate is used to keep the halves under the brine in which they soak for 8 to 10 hours.
Brining
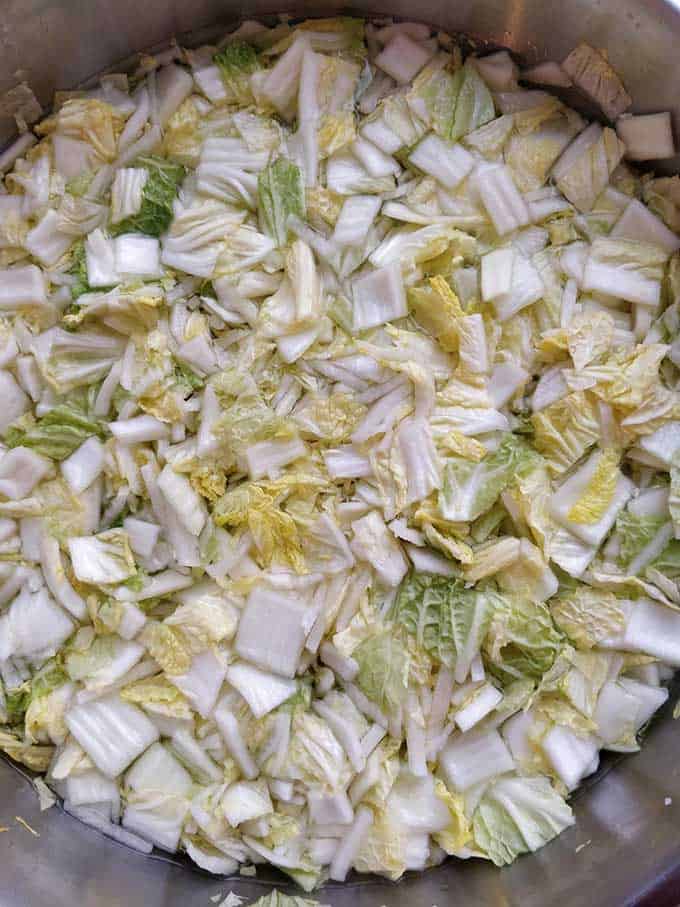
In easy kimchi recipes, the cabbage is prepared – in this picture cut into bite-sized squares – and a salty brine is poured over it. The brine cabbage is left to soak for up to 12 hours. Right now, I’m using a 5% brine though I see anywhere from 5-15% brine strength being used. When done, the white part of the cabbage should be fully bendable and the cabbage should taste salty.
Testing Vegetable Salt Level
How salty? How to adjust?
Here’s this gem I found in under The Art of Tasting:
A good kimchi contains the right amount of salt, but to get it right it’s important to taste the vegetable after salting. If it’s very salty, the vegetable needs rinsing thoroughly. Rinse multiple times until it tastes slighty too salty. On the contrary, if the salt level tastes just right, it’s probably under salted. Adjust by decreasing or increasing the amount of salt going into the kimchi paste. —
Cutting Shapes
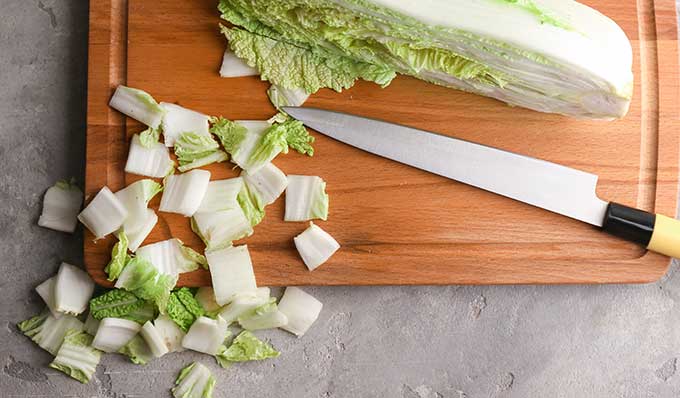
How you cut your cabbage in kimchi plays an important role in kimchi recipes.
Nabak Cuts
Napa cabbage cut into squares form the foundation for Mak Kimchi, a speedy version of kimchi with the same flavors as traditional kimchi. This cut is used for the recipe I’ll be sharing next week.
You’ll want bite-sized cuts that are about 1½ to 2 inches square.
Half your Napa cabbage vertically. Just cut through the base and then gently pull apart the two halves. Then, cut each piece in half to make quarters. If your cabbage is extra large, you can cut each piece in half again to end up with eight pieces. Cut out the core from each piece, then cut each into 2-inch squares that are as uniform as possible.
Match Stick Cuts
Thin, narrow matchsticks are the most common cut used for daikon radish. Peel your daikon radish then make thin slices crosswise. I used my mandolin for this. Then, cut a stack of round into thin matchsticks.
Sweet Rice-Flour Porridge
Rice-flour porridge is a staple ingredient in kimchi red pepper paste. feel free to double or triple the recipe for large batches of kimchi.
1 cup of cold water
2 tablespoons of sweet rice flour
In your smallest saucepan, whisk together the water and rice flour. Bring to a boil, whisking constantly. Turn burner to medium and continue whisking until the mixture thickens and resembles white glue. Transfer to a small container and refrigerate to chill and thicken further. The porridge will keep for up to 3 days, refrigerated.
Last update on 2024-07-26 / Affiliate links / Images from Amazon Product Advertising API


 This post may contain affiliate links which won’t change your price but will share some commission.